Mojo Toolchain
August 2, 2020
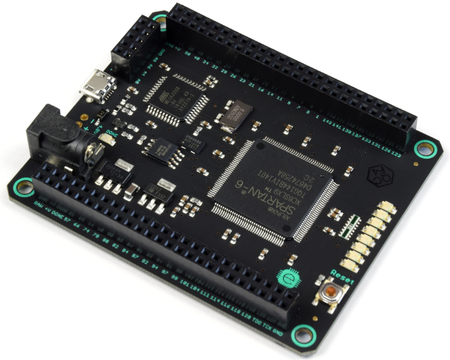
This is the setup I used for going through the book “Programming FPGAs: Getting Started with Verilog.”
- Download Xilinx ISE (link)
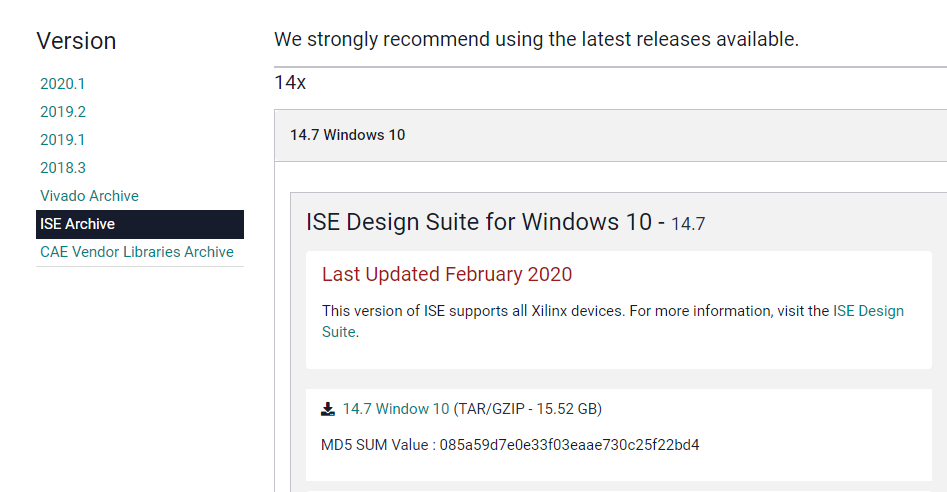
- Unzip downloaded file and locate .ova virtual machine file.
- Xilinx_ISE_14.7_Win10_14.7_VM_0213_1\ova\14.7_VM.ova
- Download and install VirtualBox
- Load the 14.7_VM.ova into VirtualBox
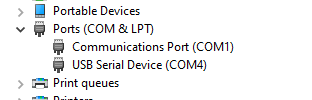
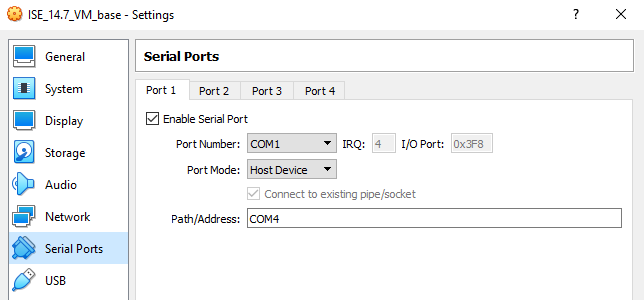
- Connect the Mojo to the computer via USB and notice which COM port shows up (COM4 in my case)
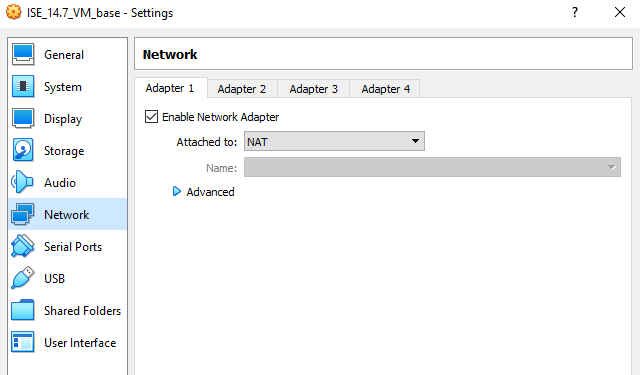
- Modify VirtualBox settings as shown below to gain network access
- Pipe the COM port through to the VM. The dropdown menu (set to COM1 in the image below) is the internal port which will map to the external host port entered into “Path/Address” field. (More details)
- Start VM
- Start ISE
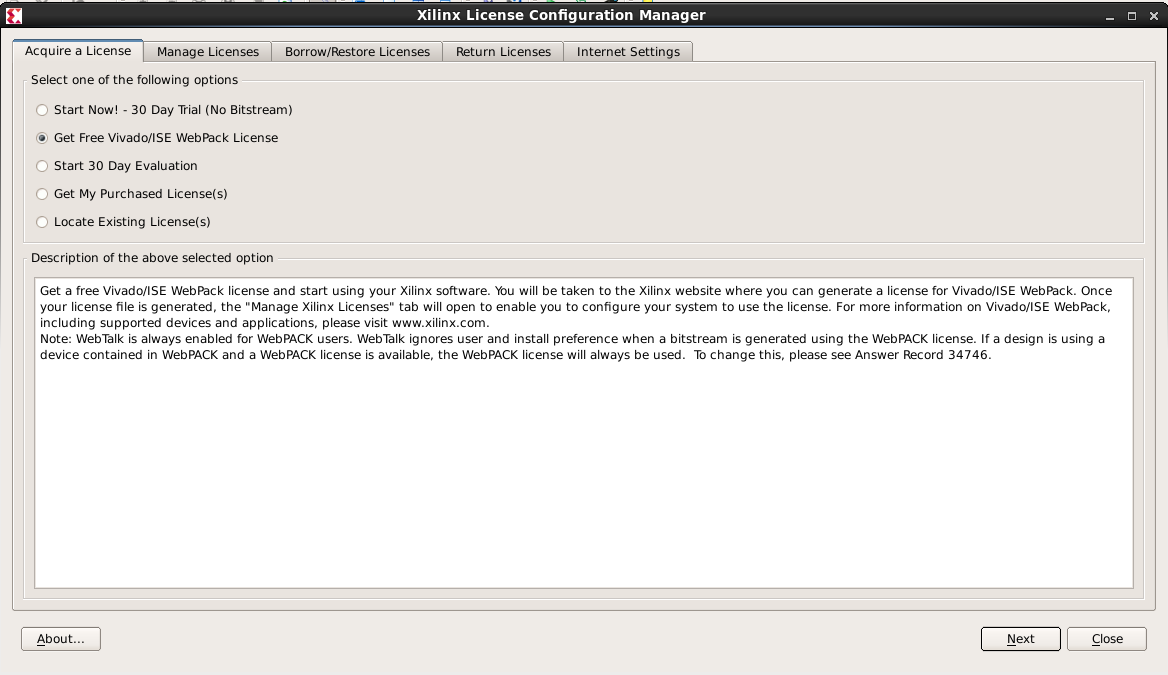
- Help -> Manage License…
- Acquire License (see screenshots below)
- Free Vivado/ISE Webpack License
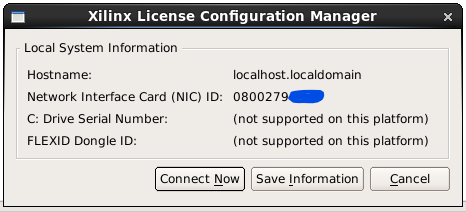
- Download license file “Xilinx.lic”
- From the “Manage Licenses” tab click “Load License…”
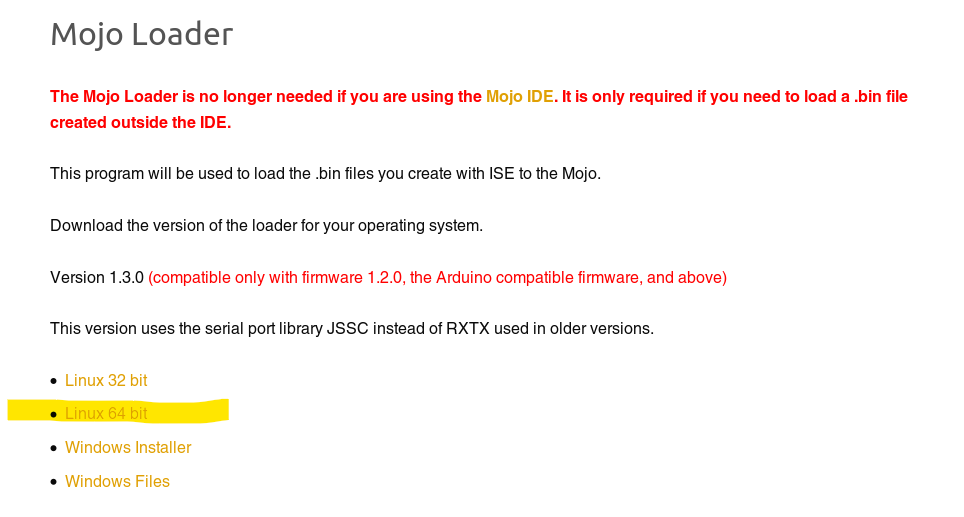
- Download Mojo loader program (link)
- Create example program in the ISE
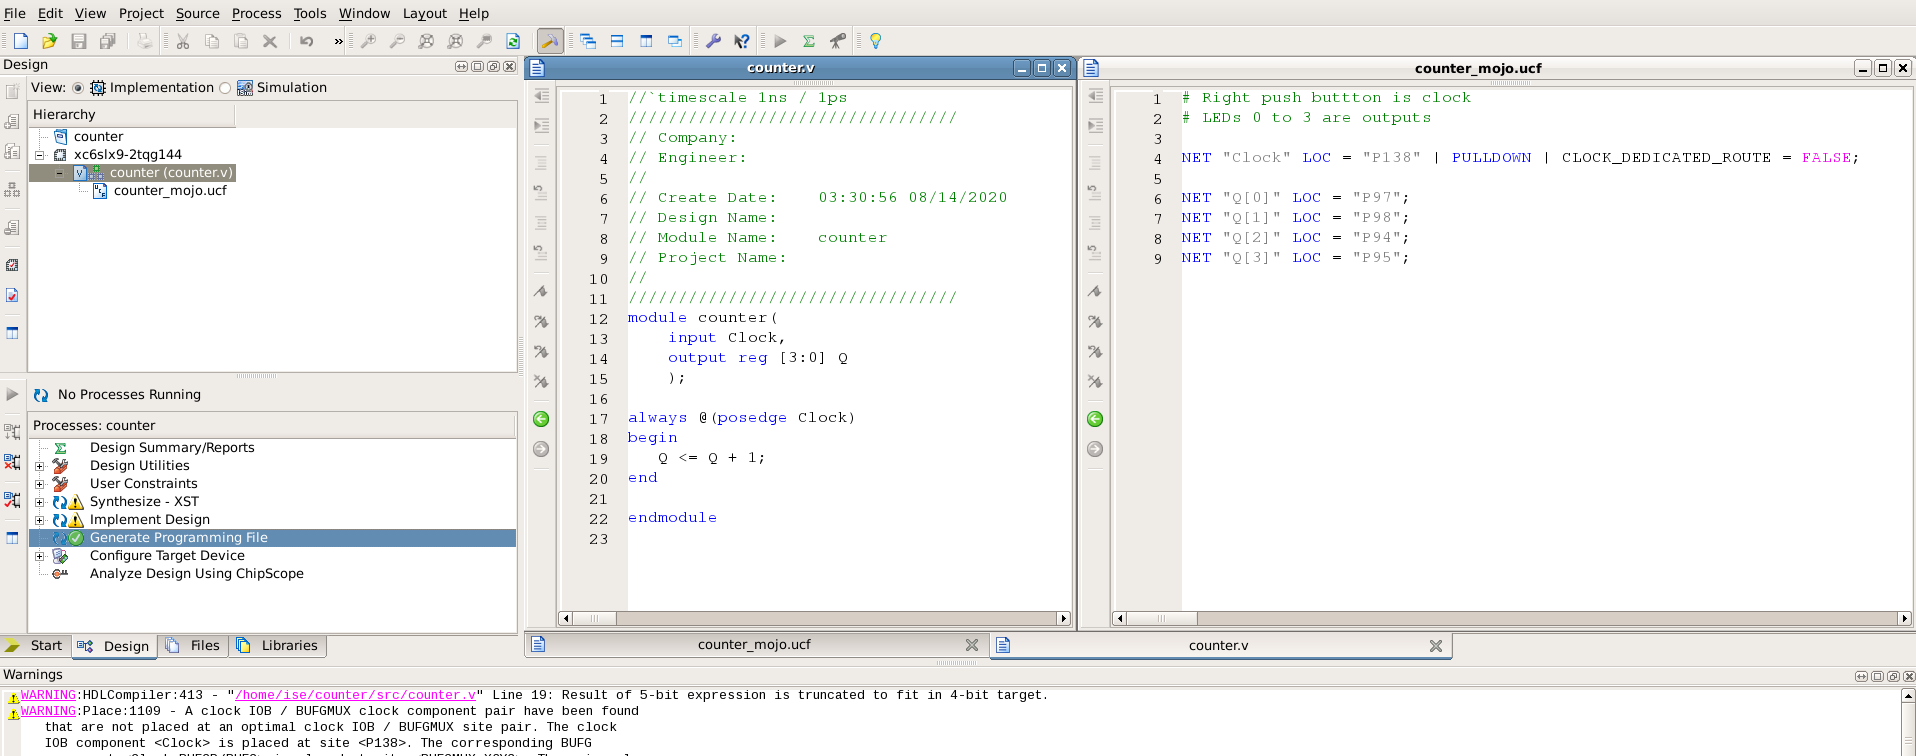
- Generate .bit file
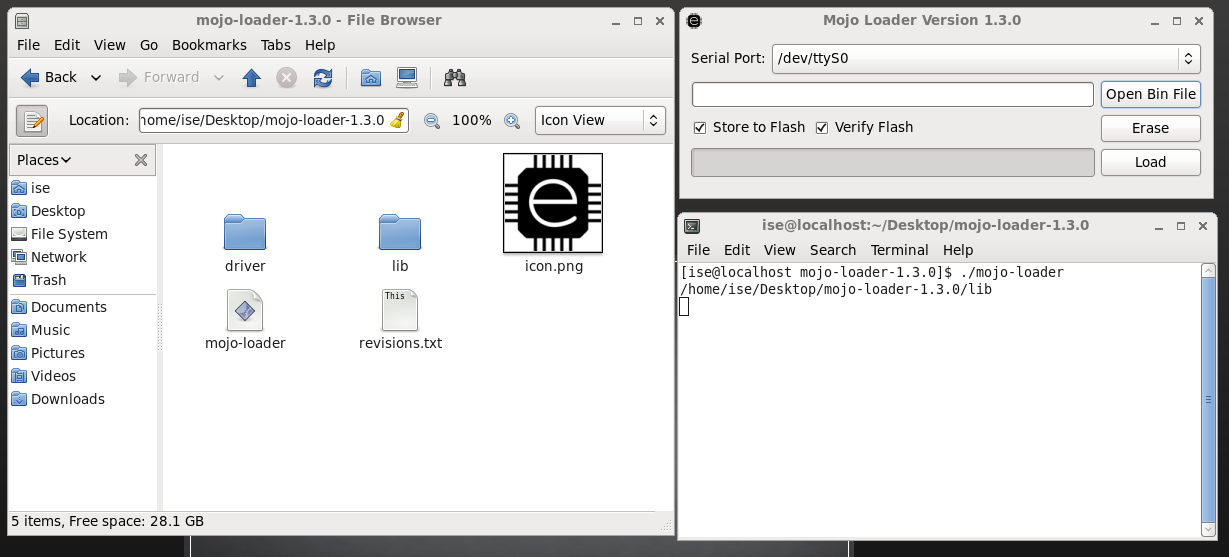
- Start Mojo loader (see screenshot below)
- Load the .bit file (note you will need to change the viewable file type to “*“)
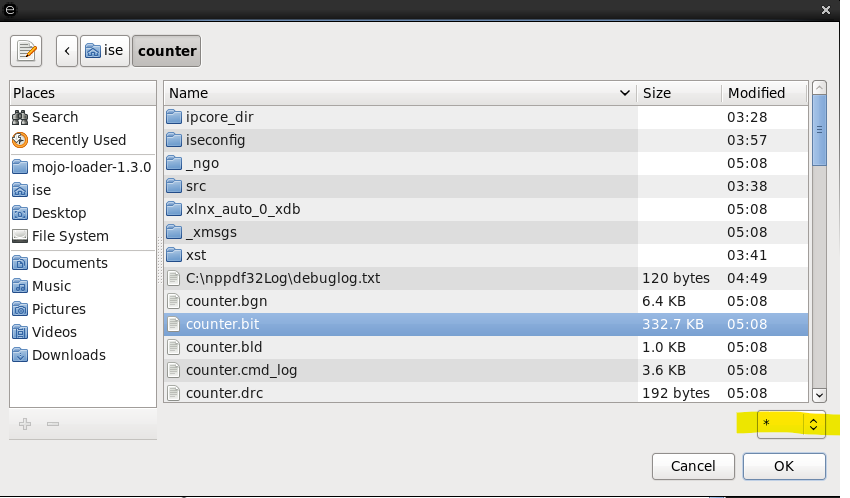
- Flash the FPGA by clicking “Load”!